So I was driving to Miri Airport after work yesterday to settle some stuff when I realized the sudden drop of voltage in my car. Thank goodness for NRG Volt Meter that I've installed in my car (transferred from the my previous Iswara) I continued to monitor the voltage of my car. As it was getting darker due to the rainy season,I turned on my headlights and once again, my car CD player (Head Unit) was off,my lights was dim and my wiper was slower then usual. At first I thought it was due to the rain, my alternator belting got wet and I thought the belting must have slipped causing the voltage drop.
A few times the head unit went off but I couldn't be bothered by it as my mind set was "belting wet, must have slipped" but that issue didn't really went off my head till I consulted my fellow friends, the Lutong Drag Crew on symptoms of a faulty alternator. They told me what are the symptoms they've experienced before and those were the exactly same symptoms I'm experiencing. One thing I didn't take note of during my observation earlier that day was the voltage would go up following my engine RPM (revolutions per-minute). The harder I rev the engine, the higher the voltage will go.
So with all the symptoms I've experienced, I was sure that its time to change my alternator. Since today is a Sunday, I was doubting that most workshops are opened but I was sure that the parts shop is still open until 3 pm. I did some reading on how to replace the alternator and after dropping my parents off, went to get a replacement alternator. This was my first time replacing the alternator on my own. If you are not confident, please let the workshop do it for you. As for my case, most workshop was closed and I'm trying to save a few ringgits on workmanship. :D
In this post, I would like to share with you, how to replace your alternator.
Tools Needed:
First things first, locate the position of the alternator.
A few times the head unit went off but I couldn't be bothered by it as my mind set was "belting wet, must have slipped" but that issue didn't really went off my head till I consulted my fellow friends, the Lutong Drag Crew on symptoms of a faulty alternator. They told me what are the symptoms they've experienced before and those were the exactly same symptoms I'm experiencing. One thing I didn't take note of during my observation earlier that day was the voltage would go up following my engine RPM (revolutions per-minute). The harder I rev the engine, the higher the voltage will go.
So with all the symptoms I've experienced, I was sure that its time to change my alternator. Since today is a Sunday, I was doubting that most workshops are opened but I was sure that the parts shop is still open until 3 pm. I did some reading on how to replace the alternator and after dropping my parents off, went to get a replacement alternator. This was my first time replacing the alternator on my own. If you are not confident, please let the workshop do it for you. As for my case, most workshop was closed and I'm trying to save a few ringgits on workmanship. :D
In this post, I would like to share with you, how to replace your alternator.
Tools Needed:
- Spanner (Size 8,12 and 14) *depending on car make and model. Here I'm referring to a 1999 Proton Satria GTI (engine code 4g93)
- Floor Jack
- Jack stand
- Gloves (optional)
First things first, locate the position of the alternator.

For my case, it was located on the right side of the engine bay, right below the engine oil dip stick. If you are wondering how an alternator looks like, it looks like a giant dynamo attached to a belt.
Once you located the position of the alternator, remove the battery terminals/heads. (always remove the battery terminals when working on fuel or electrical parts of the car.) Then proceed to raise the car using floor jacks. Once you raised your car to the desired height (for easy access), place a floor jack underneath the car to support it.
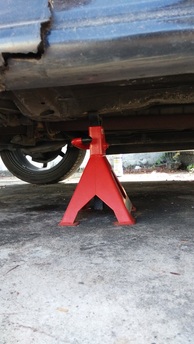
Safety First. Always use a floor jack to support the car when you need to work under it.
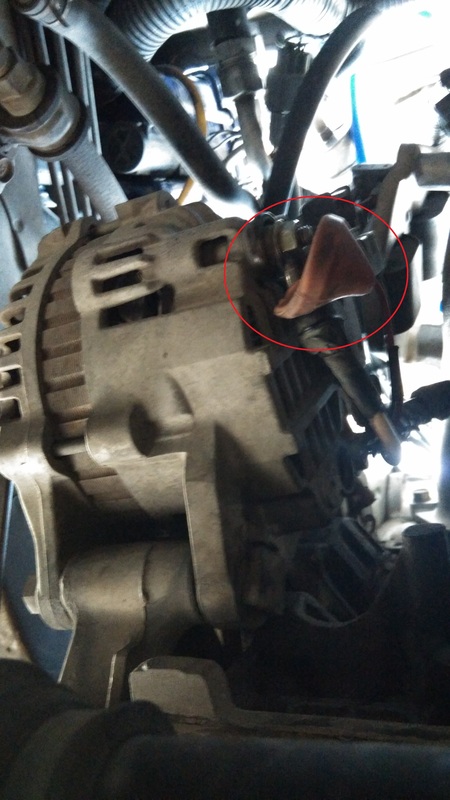
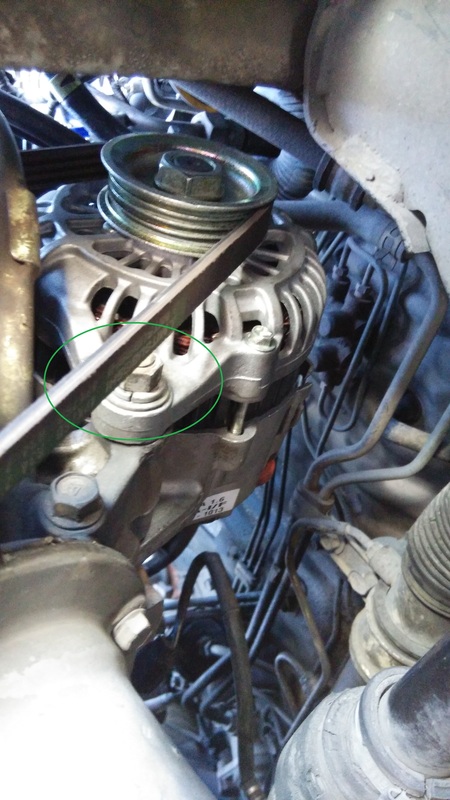
Once you've done supporting the car using a floor jack, using a size 12 spanner, loosen and remove the tensioner nut on the alternator. *circled in green*
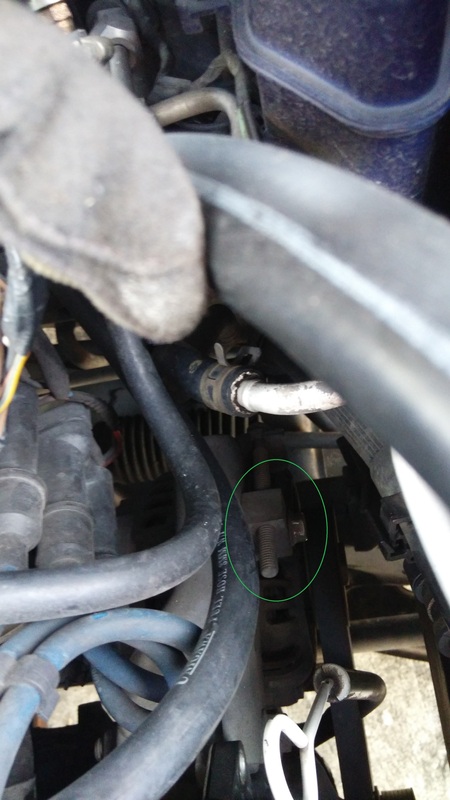
Time to get under the car! using a size 8 spanner, remove any wire connections from the faulty alternator. For my car, there was 2 connectors and 1 socket to be removed.
Once you removed the wirings, using a size 14 spanner, remove the pivot bolt (circled in green) and the belting that's connected to it. It might need a little force to remove the pivot bolt and once you've remove that bolt, take out the faulty alternator.
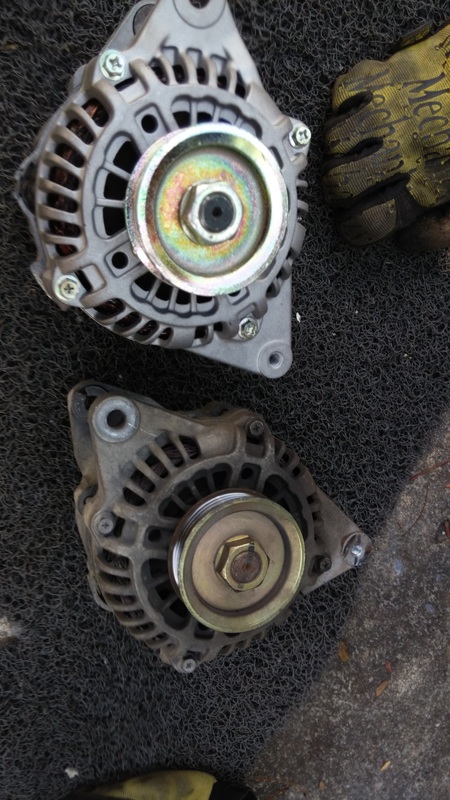
New/ rebuilt alternator on top (Rated at 75A) and faulty alternator on the bottom.
Installation of the new alternator was pretty straight forward like taking it off, except its done in reverse. Once you've put everything back on, reconnected the wiring's, start the engine and what i did was, turn the radio on, headlamps and aircond and monitor the voltage through the volt meter.So far so good, no voltage drop. The normal voltage should be 12V plus (before you start the car), 13V ~ 14V with your engine running. Don't forget the adjust the belting tensioner by turning the tensioner bold clockwise *depending on car make and model).
So the it is, a DIY session for the weekend. A new rebuildable alternator for my ride, a new experience gained and roughly RM80 saved on the workmanship. :D
So the it is, a DIY session for the weekend. A new rebuildable alternator for my ride, a new experience gained and roughly RM80 saved on the workmanship. :D
 RSS Feed
