Welcome back for another round of DIY (do-it-yourself) post. This time its not a DIY on my own car but a friend's car. It was an honour to be trusted painting a set of rims and the steps was similar to the valve cover except its in a bigger scale and more complicated because of the rims design.
But before you start, please keep safety in mind. Always make sure the handbrake is engaged or use a brick, tyre stopper before you jack the car up and make sure you jack the car on a flat surface.
But before you start, please keep safety in mind. Always make sure the handbrake is engaged or use a brick, tyre stopper before you jack the car up and make sure you jack the car on a flat surface.
As for the items needed/ used, the list is as follows.
- 3 tonne jack stand (1 pair at least.. but if you have 2 pairs, even better
- 2 cans of Hi temperature paint
- 3 cans of paint (colour of your choice)
- High pressure water jet.
- 2 decks of playing cards (i'll explain on this later)
- Sanding paper
- Paint remover
- metal brush (berus dawai)
- other items related to removing the tires from the car.
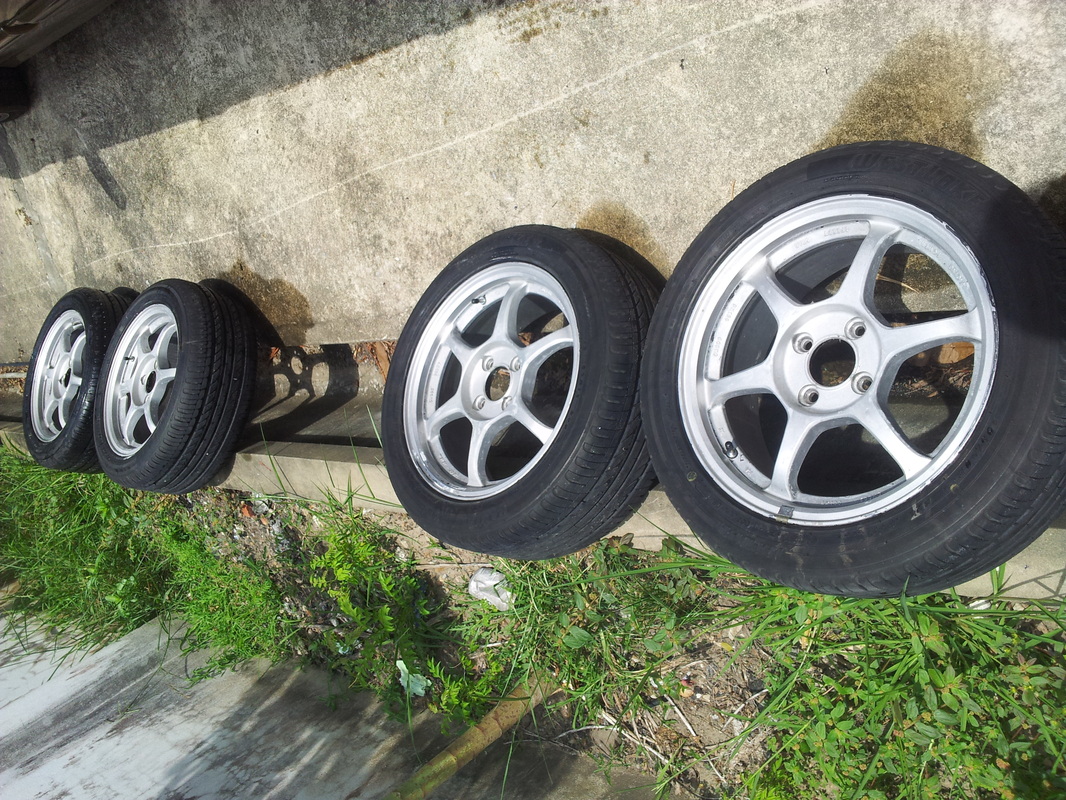
I started the project on Thursday night, right after work. the owner drove over to my place and we took out the 2 front tired and start removing the paint. The rims was previously painted 4 different times with 4 different colours and removing the paint was an exhausting task.
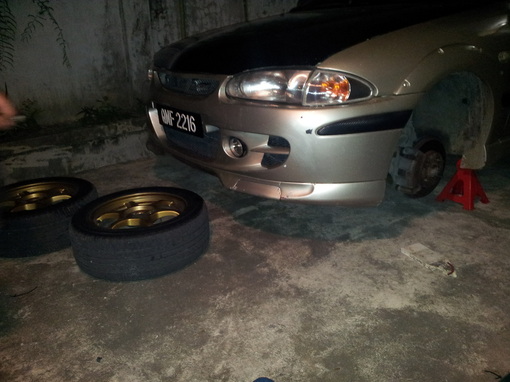

After removing the tires, apply a generous amount of paint remover on the paint coating. Be extra careful not to get the paint remover on the tires as it can and might cause leaks. Leave the paint remover for a bout 3-5 minutes before removing it. You can choose to use water and the brush but it will definitely take some time. Since I have the high pressure water jet, we decided to use that. Repeat the steps on all four rims until you get a clean, paint free surface.

A close up view of the paint remover effect on the paint. At the end of the night, We only managed to remove the paint from the front wheels. Around 1130pm, we put back the wheels of the car and rested as we need to go to work the next day.
unfinished business.. there was still some paint on the wheels.
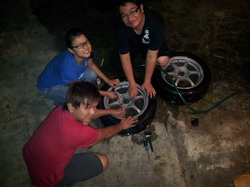
As I was on half day leave on Friday, I continued with the project around 3pm. Jacked the car up, removed the wheels and start applying paint remover to the remaining paint. After successfully removing about 98% of the paint, I proceed with the rear wheels. Lesta came to help after he finished work and around 6pm, I set up some lighting so that we can continue till late night.
a little bit more
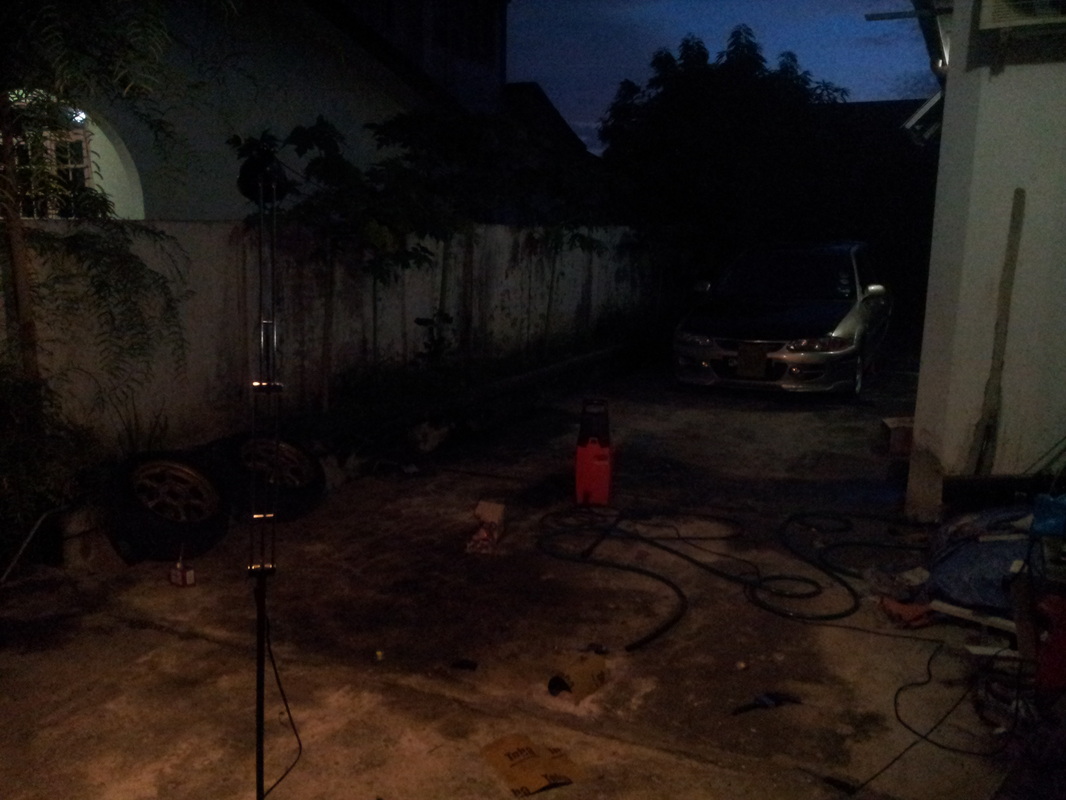
preparing to continue with the project at night.
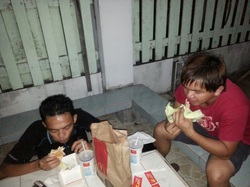
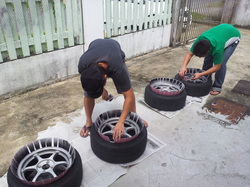
somewhere around 8 or 9pm, Fabian came over with some food. We were so caught up and excited with the project, till we forgotten to eat. And not long after that, Raihanah came to chill for a while.
The makan buddies came to help out with the rims. And yes that a lady in the blue t-shirt.
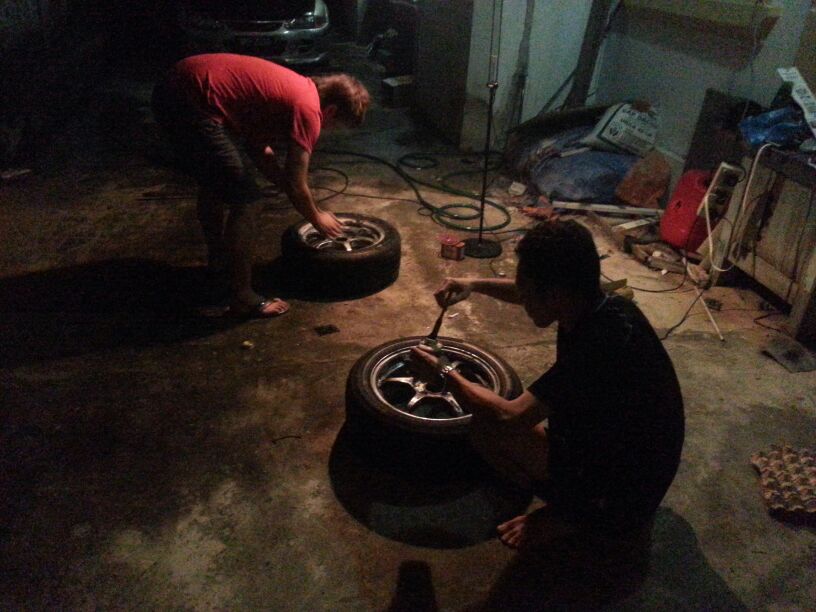
Applying more and more paint remover to the rims.
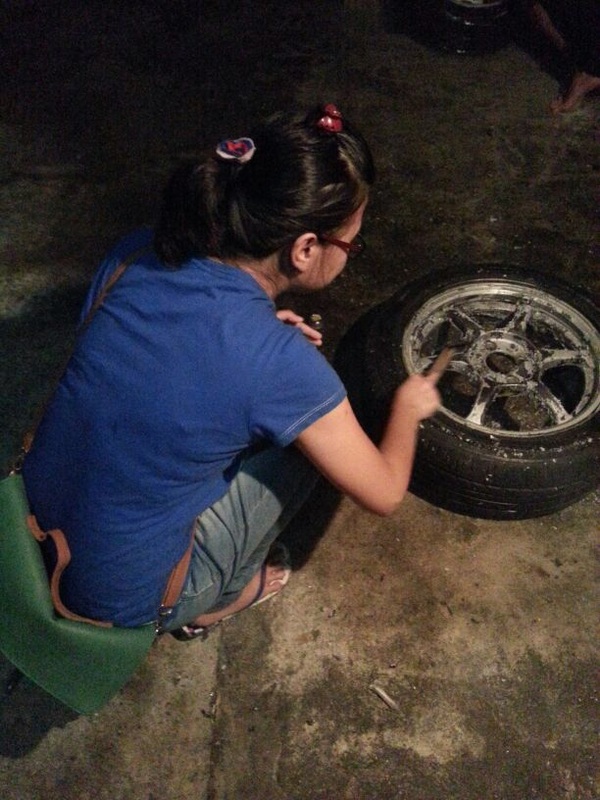
Dengan penuh tekun sekali membuang cat menggunakan berus dawai. One of the rare kinds of woman who doesn't mind getting her fingers dirty.
We finally removed the paint off all the wheels around 1130pm and not long after that, a fellow friend called for happy hour. :P
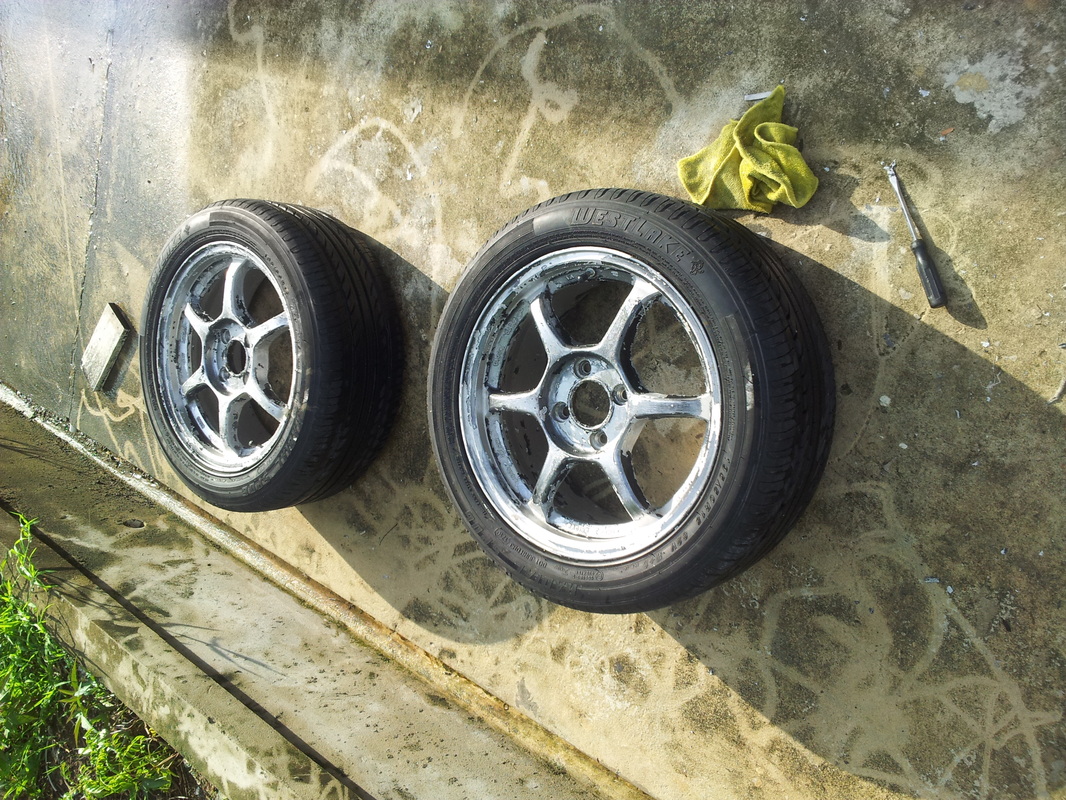
So the next morning (Saturday) we started jacking up the car around 9am, removed all the wheels and started wet sanding. The purpose of wet sanding here is to remove the tiny bits of paints that was still on the rims and after the sanding, wash the wheels with dish washing detergent.
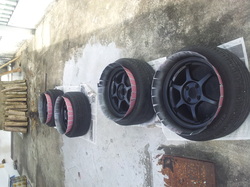
Put the rims under the sun to dry it up and let the sun to heat up the rims. the paint dries faster this way.
So the next morning (Saturday) we started jacking up the car around 9am, removed all the wheels and started wet sanding. The purpose of wet sanding here is to remove the tiny bits of paints that was still on the rims and after the sanding, wash the wheels with dish washing detergent.
Put the rims under the sun to dry it up and let the sun to heat up the rims. the paint dries faster this way.
Out in the sun drying. Notice there was still a few small patches of paint on the rims.
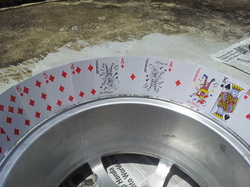
This is where the playing cards came to use. To avoid paint spreading to the tires, place the playing cards between the lip of the rims and the tires. Apply the card until the whole wheel is covered. Another alternative of doing this is by using masking tape and news papers but that would consume a lot of your time.
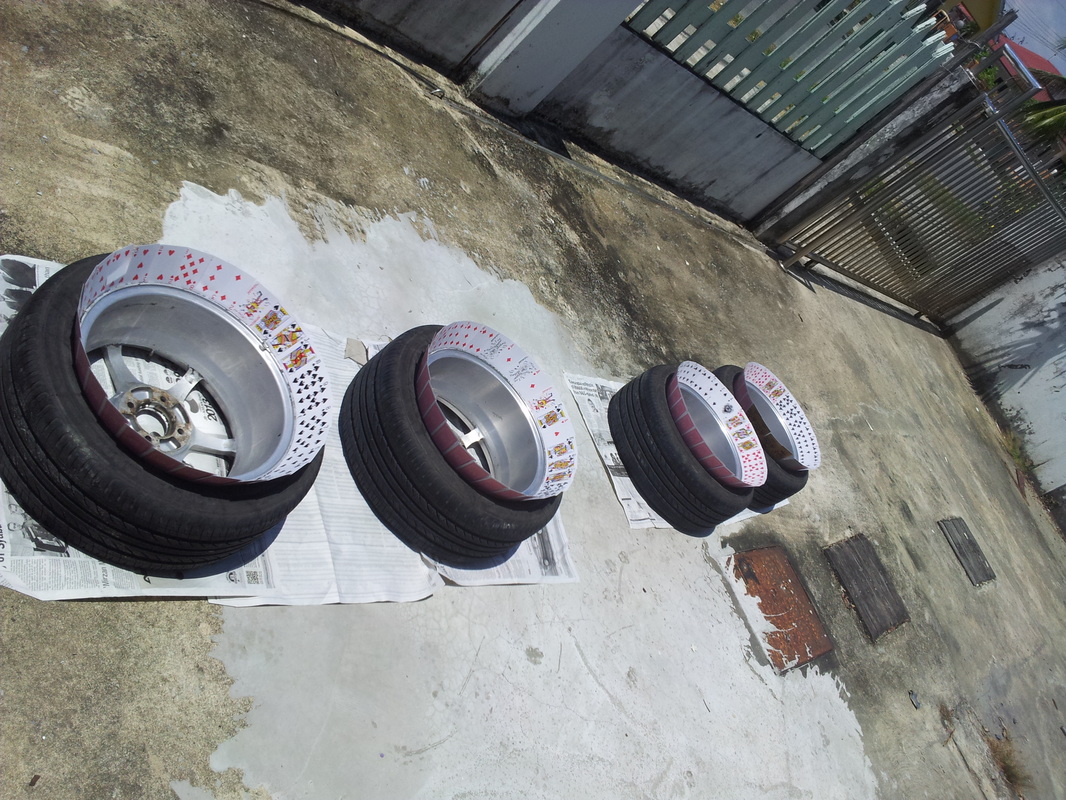
The rims ready for paint.
As for these rims, I applied 3 thin coats of high temperature paint and let each layer dries up for about 10-15 minutes. Flip the rims over and apply the same amount of high temperature paint on the rims.Once you are satisfied with the paint coating, apply the colour coat of your choice. As for these rims, I applied 3 layers of matte/flat black paint.
Mari kita tolong menolong..
Once you are satisfied with the paint coating, apply the colour coat of your choice. As for these rims, I applied 4 layers of matte/flat black paint. and like the high temperature coat, leave the paint to dry up before applying another coat of paint. And finally apply 2 even coats of clear paint. As we wanted retain the matte looks, we applied the clear paint from a distance- roughly 1 meter from the rims (if you apply the clear coat like the normal paint, you will get a glossy finishing)
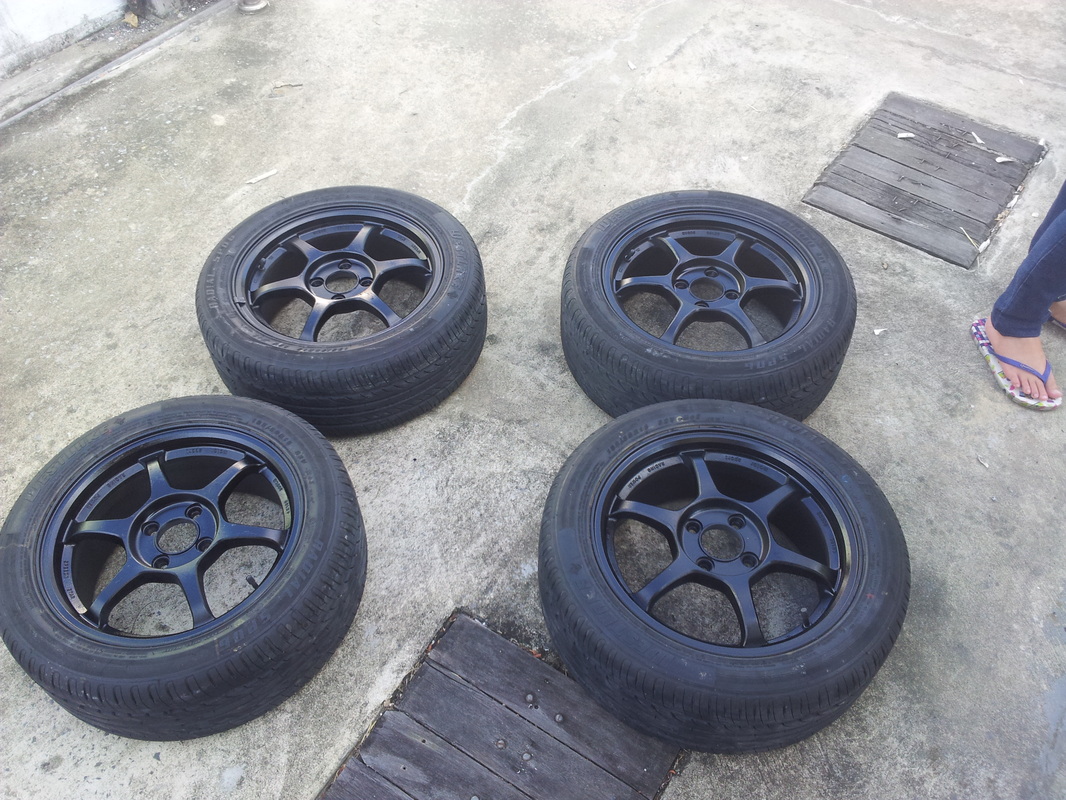
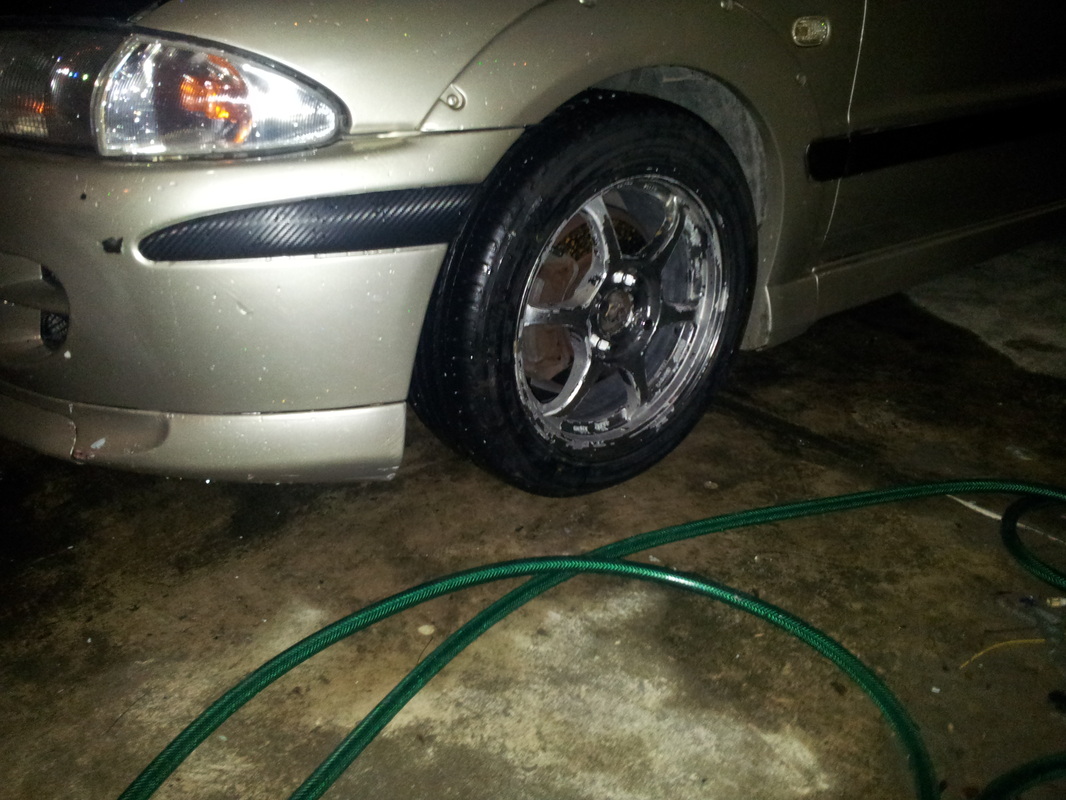
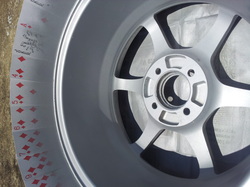
end result. Ultimate satisfaction.
Finally, put the wheels back on the car and you are ready to go!
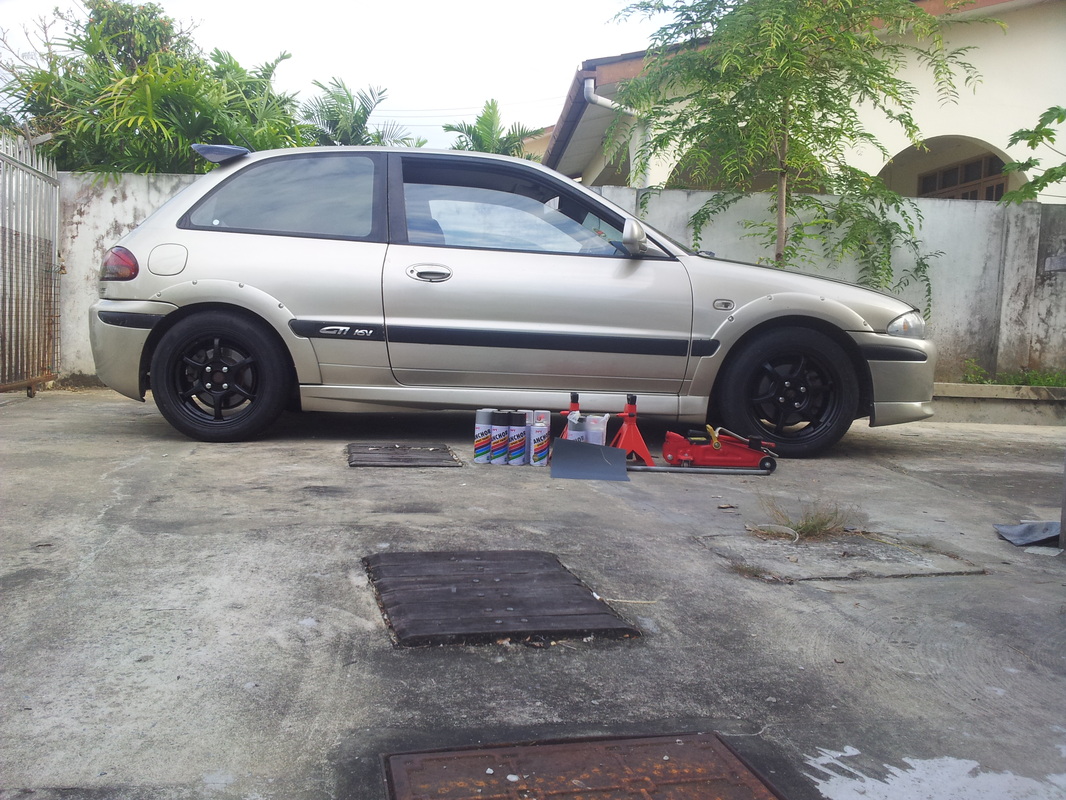
Completed. next on the list is painting the callipers.
 RSS Feed
