Alright readers, this will be my first 'How To Guide: DIY" post and hopefully won't be my last.
For this first DIY post, i'm gonna share with you on how I painted my valve covers. FYI, I have 3 valve covers in my possession up-to-date all painted by me. :D
For this first DIY post, i'm gonna share with you on how I painted my valve covers. FYI, I have 3 valve covers in my possession up-to-date all painted by me. :D
For this DIY, the tools needed is as follows
- Spray Paint (the colour of your choice)
- Masking tape
- Paint remover
- Brush
- High pressure water jet/ pressure pump
- Abrasive paper AKA sand paper (400 and 800 grit)
- Gasket maker/gasket glue
- Rubber gasket (optional)

First of all, remove the valve cover from your engine bay,(in my case, i purchased another valve cover from one of the Facebook page and got it posted over-no removal required.) and prep it for paint removal.. When i got the VC, it was already painted black by the previous owner and the paint had a few scratches and chips at the edge(I'm guessing that the previous owner didn't use high temperature paint as base coat and it has already been painted 3 time previously - red,blue and black)
To remove the old paint, I used this paint remover which can be purchased at most hardware store. Please be extra careful when using this product as it is extremely acidic. Use it in a open area where you have good ventilation and avoid direct contact with the liquid.
Apply the paint remover using a small brush and leave it for a few minutes until you see the paint start lifting itself from the valve cover. Remove the residue using flowing water or using a high pressure water pump/water jet. You may need to repeat the steps until all the paint has been removed from the valve cover.
Apply the paint remover using a small brush and leave it for a few minutes until you see the paint start lifting itself from the valve cover. Remove the residue using flowing water or using a high pressure water pump/water jet. You may need to repeat the steps until all the paint has been removed from the valve cover.
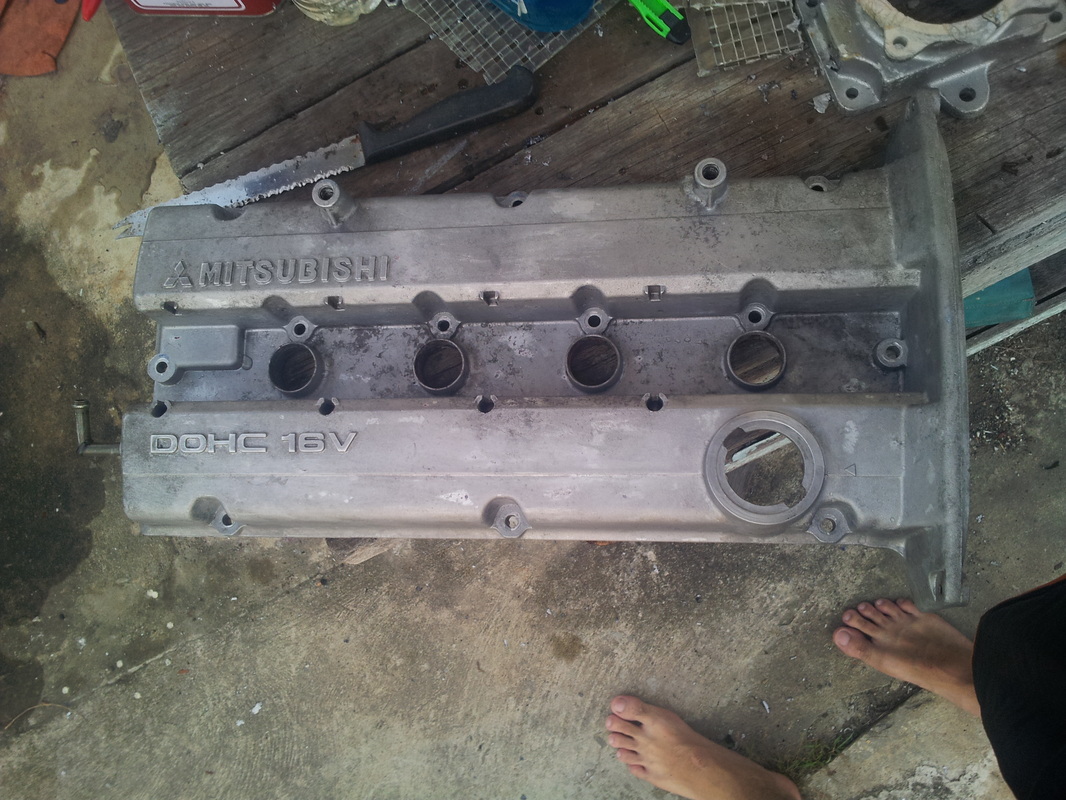
This is how the valve cover looks like after all the paint has been removed.
Next step is to sand the valve cover using the 400 grit abrasive paper and prep the valve cover. cover all the holes that you do not wish to paint using the masking tape. and apply 3 even coats of high temperature paint as the base coat. I recommend using high temperature base coat as the valve cover tends to get hot and without the high temperature base coat, the paint will chip and cracks over time.
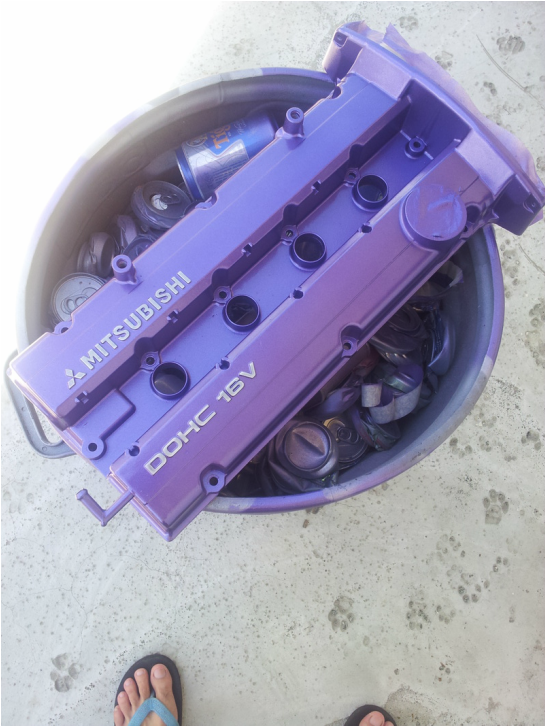
After the high temperature paint dries up, its time to spray the valve cover with the colour of your choice (I chose metallic purple). LIke the other valve covers i did previously, I applied 3 even layers of paint coat. Wait 10-15 minutes for each layer to dry.
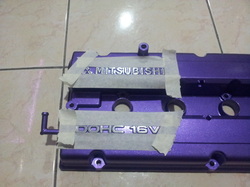
After the paint dries, I prepped the valve cover for another round of sanding. Taped up the side of the letters to protect the paint just in case you over shoot the sanding process. Using a flat block of wood wrapped up with the 800 grit abrasive paper, rub away all the unwanted paint until bare metal is exposed. I suggest you use the wet sanding technique.
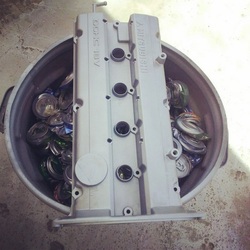
Done with the wet sanding and this is the result.
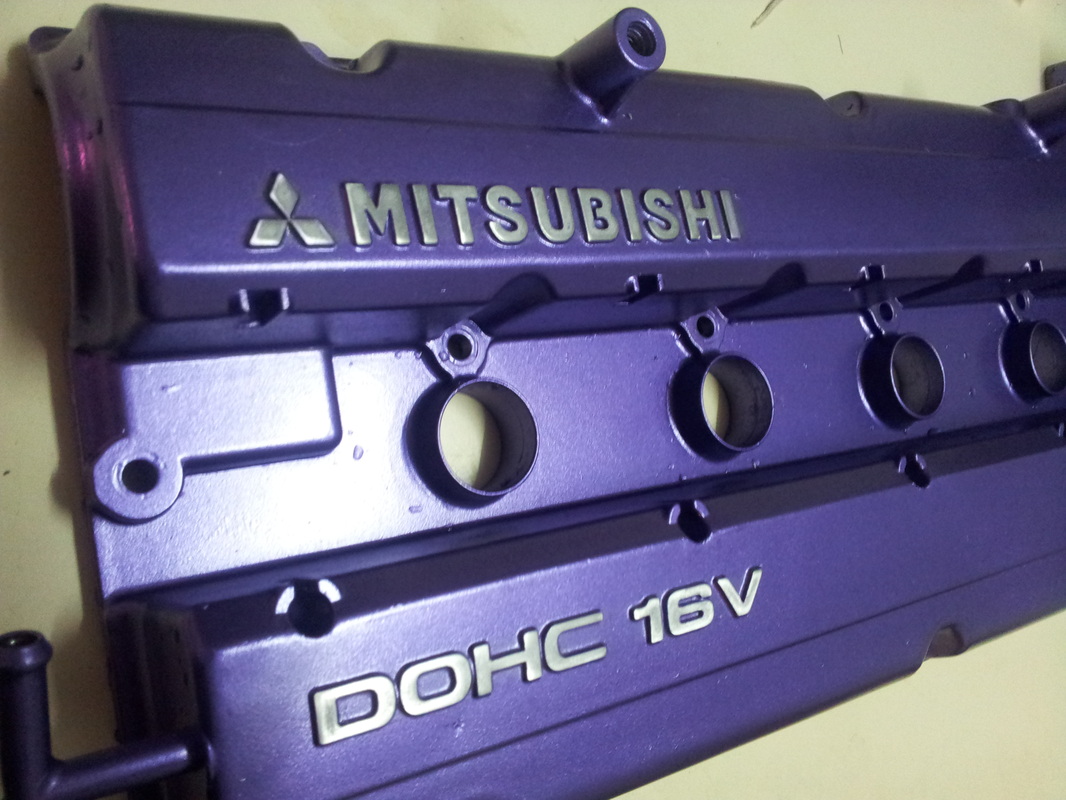
Finally, spray 2 layers of clear paint to protect the newly painted valve cover. Re-install the valve cover on the engine. Don't forget to apply gasket marker along the sides of the valve cover and the spark plug holes. If the valver gasket has hardened, replace with a new valve gasket which can be easily purchased at auto part shops.
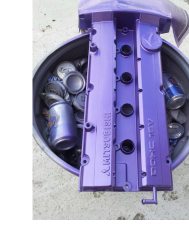
Finished product before installation.
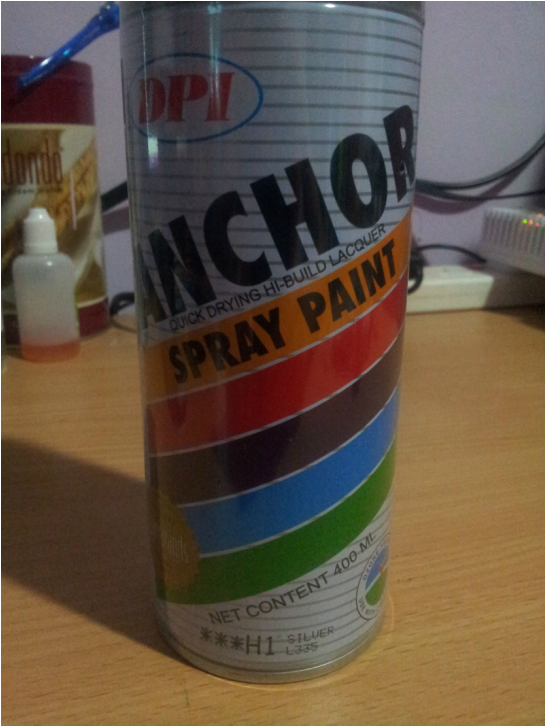
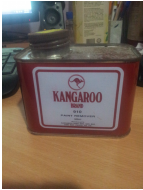
In case my dear readers is wondering how high temperature spray paint looks like. Take note on the 3 stars before the colour code. For DPI Anchor brand, high temperature paint only comes in two colours - Black and Silver.
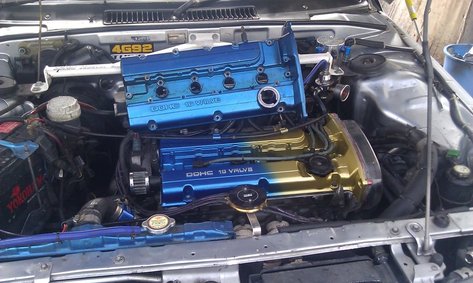
the other 2 valve covers that I painted using the same steps as above.
- the blue(top) has been resprayed to candy purple. Currently on my engine.
- the blue/gold broke when i got into an accident last year.
- the blue(top) has been resprayed to candy purple. Currently on my engine.
- the blue/gold broke when i got into an accident last year.
Hopefully this DIY project of mine can help and guide you with your valve painting project. Till next time! Chio~
 RSS Feed
